High-concerned chemical : None
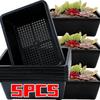
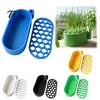
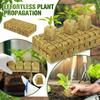
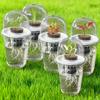
Type : Nursery Pots
How to Use the Seed Starter Tray for Best Results
Following a simple, proven process ensures high germination rates and healthy seedlings. Here’s a step-by-step guide based on real-world use:
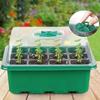
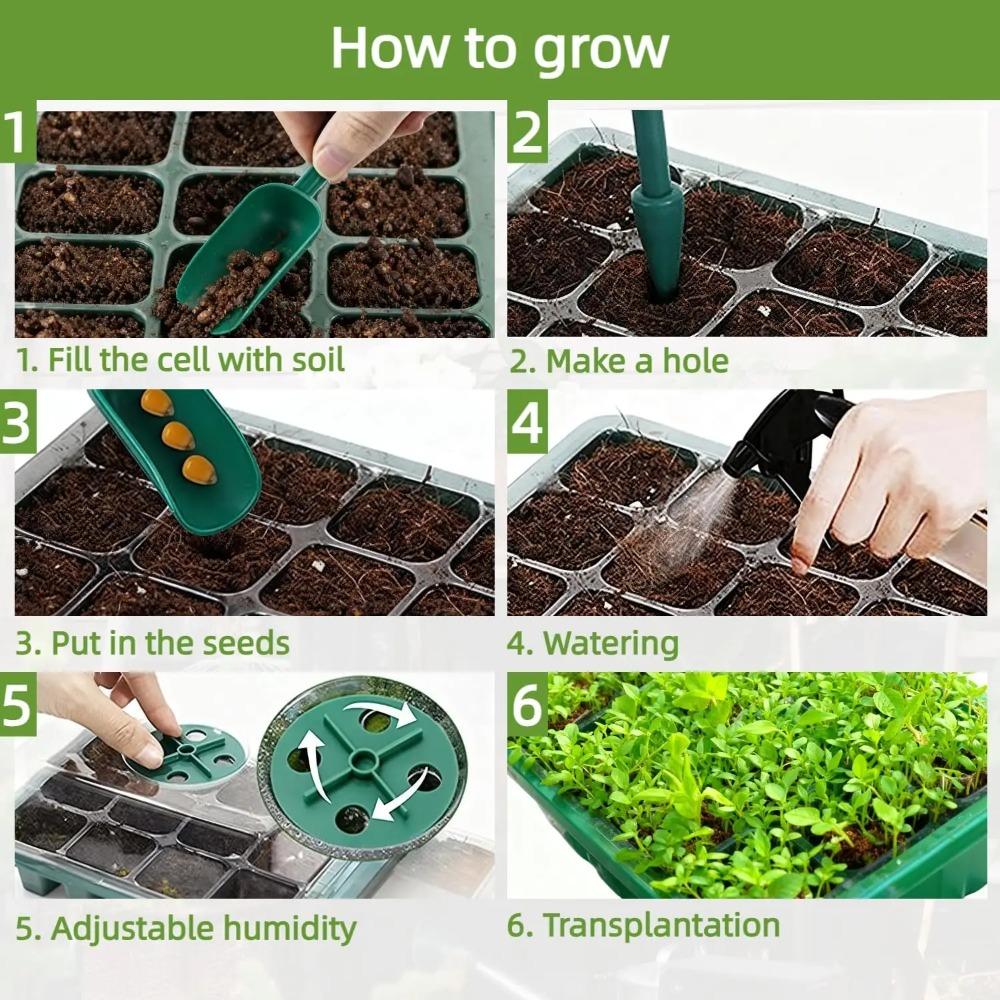
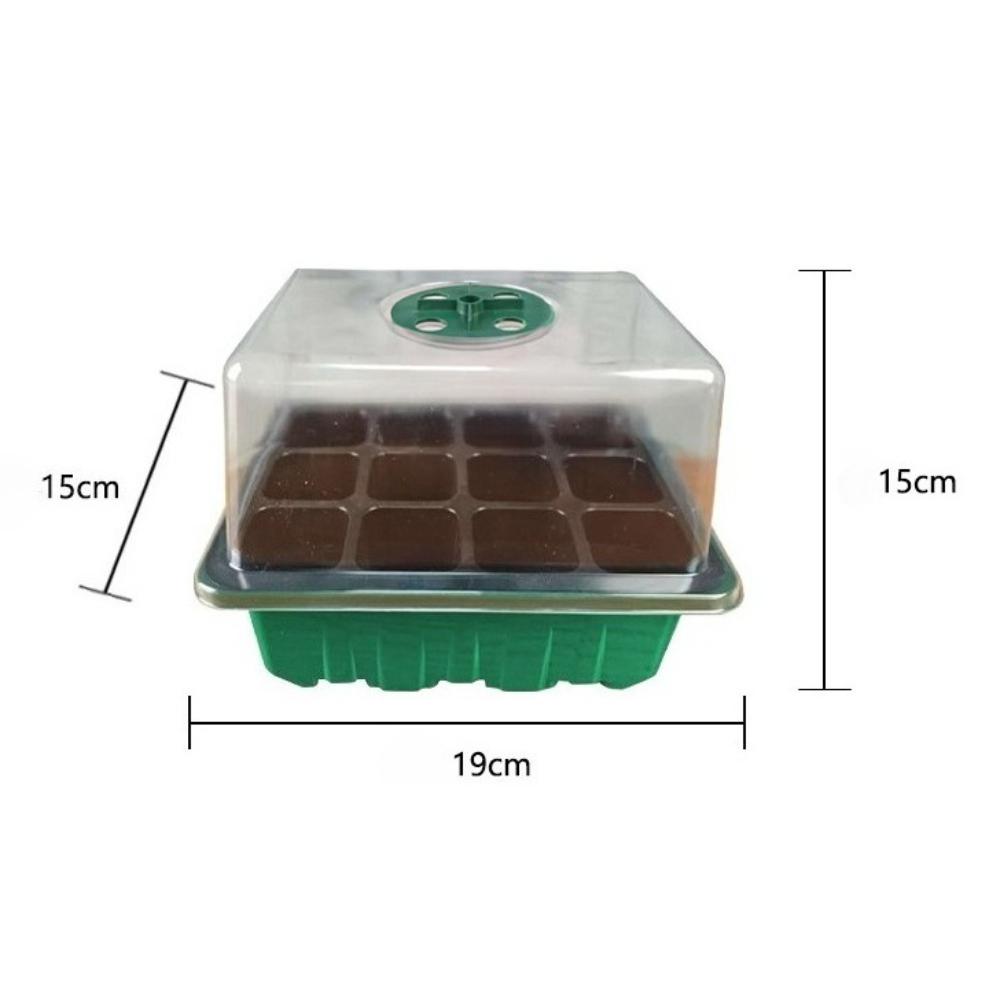
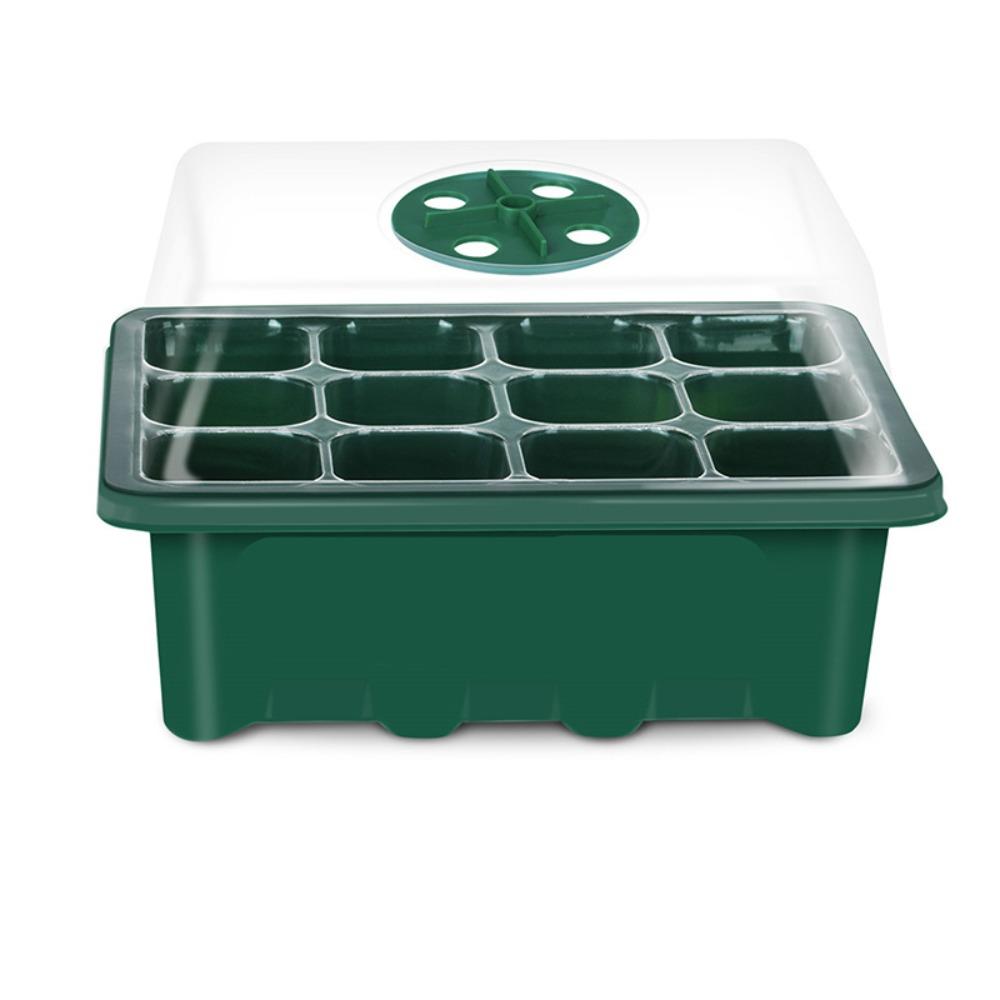
Prepare the tray: Place the seedling tray on the base tray. Fill each cell with high-quality seed-starting mix, gently pressing down to remove air pockets.
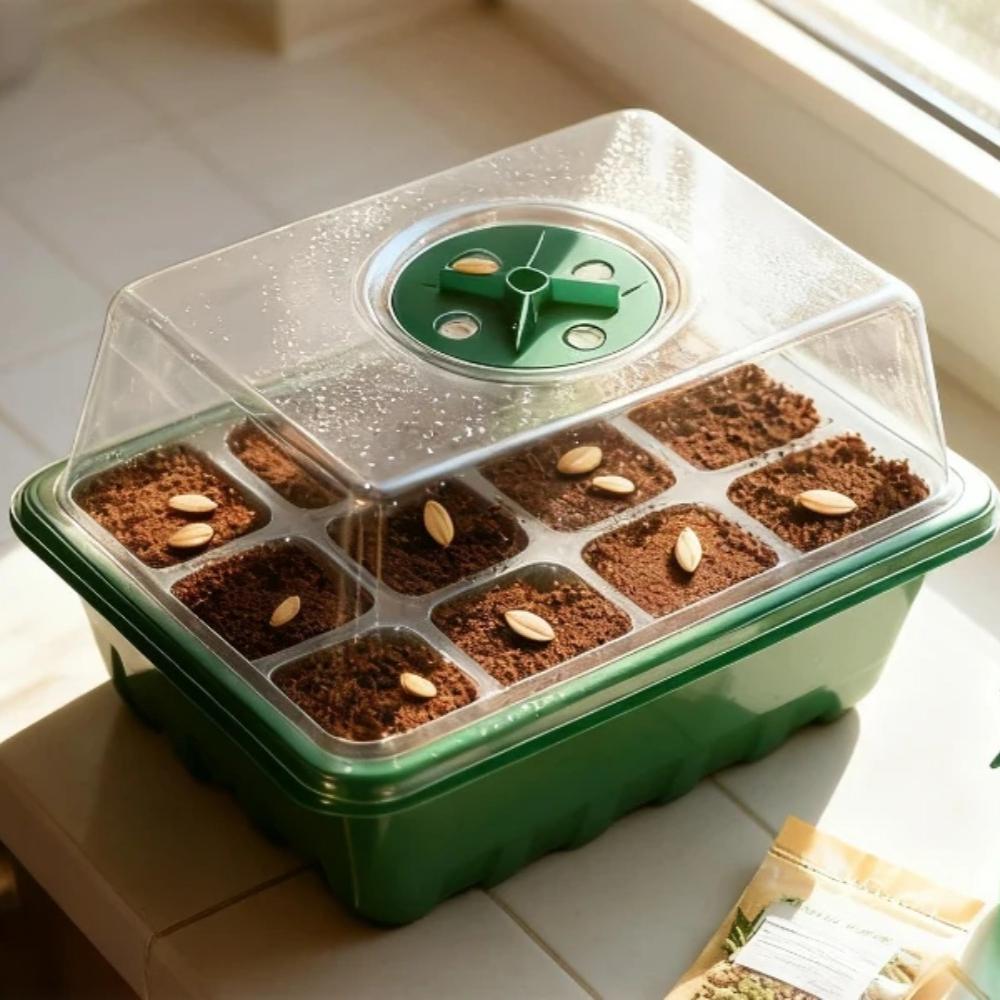
Plant the seeds: Place 1–2 seeds per cell at the recommended depth (check seed packet instructions). Lightly cover with soil.
Water gently: Use a spray bottle or bottom-watering method to moisten the soil without disturbing the seeds.
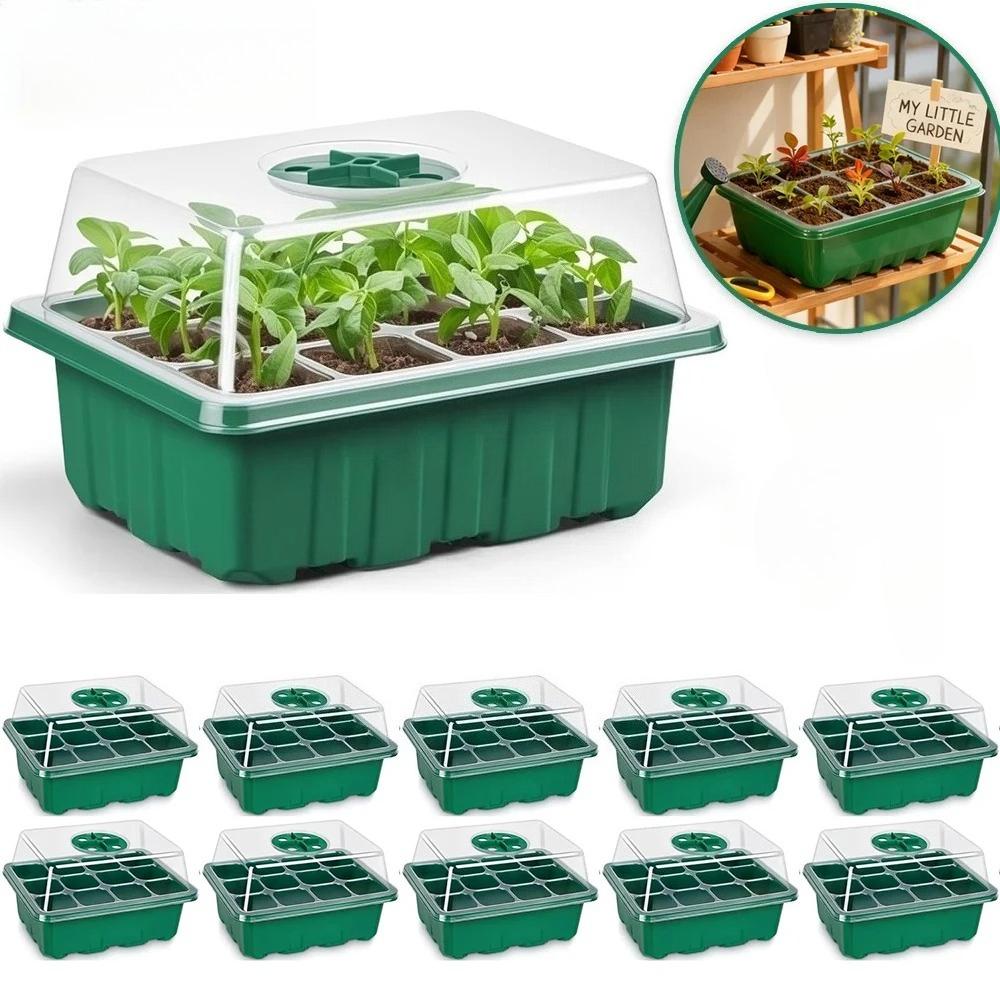
Apply the humidity dome: Place the transparent dome over the tray to trap moisture and maintain humidity.
Place in a warm, bright spot: Ideal temperature: 65–75°F (18–24°C). A sunny windowsill or under a grow light works perfectly.
Monitor daily: Check moisture levels. If the dome fogs up, open it briefly to release excess moisture. If the soil feels dry, mist lightly.
Remove dome after germination: Once seedlings emerge (usually 5–14 days), remove the dome to prevent mold and encourage strong growth.
Transplant when ready: When seedlings have 2–3 true leaves, transplant them into larger pots or your garden.






 החזר על אי אספקה