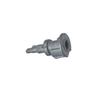
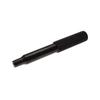
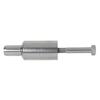
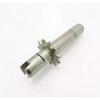
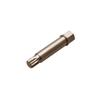
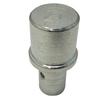
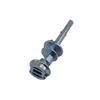
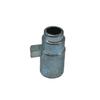
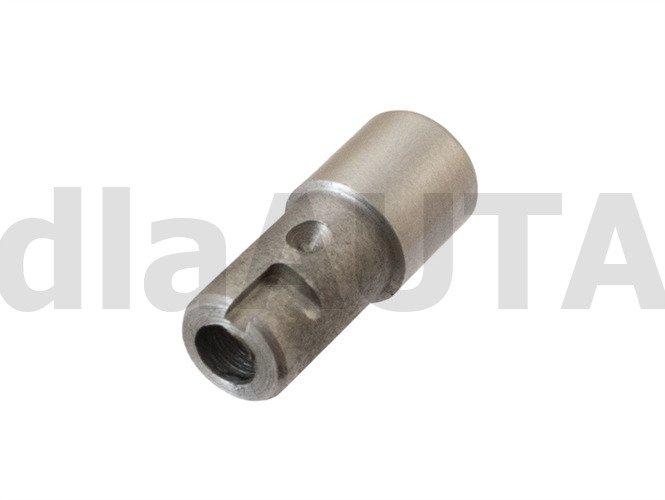
Item: trunk roller blind repair kit (sleeve) Car: Mazda 6 Estate Year of production: 2002-2008 Manufacturer: replacement Technical condition: the item is brand NEW, unused, undamaged and undamaged TRUNK ROLLER BLIND REPAIR INSTRUCTIONS Mazda 6 Estate 2002-2008 What you need: repair kit (sleeve) Phillips screwdriver drill and 2.5 mm or 3 mm drill bits pliers round file center punch hammer metal/plastic glue Roller blind removal: unscrew the plastic cover of the roller blind on the driver's side (two Phillips head screws) and remove it find the plastic pin located in the tube peel off a piece of imitation leather so that two holes are visible (recesses preventing the pin from moving) drill holes in the metal rod with a 2.5 mm or 3 mm drill (ATTENTION! Not drill through the plastic element) turn the pin and pull it out of the pipe use a file to smooth out any unevenness around the holes inside the pipe Pin removal: pull the spring off the pin cut or break the pin without damaging the spring or rod Repair: hook the spring into the L-shaped recess on the sleeve insert the spring into the metal tube NOTE! The metal sleeve should be installed at a 90 degree offset to the original plastic one so that the previously drilled holes do not align with the grooves and holes on the sleeve. Therefore, before inserting the entire assembly into the metal tube, mark the groove locations using the marked grooves. Use a center punch and hammer to guide you. Bend the metal tube in two places to create recesses that prevent the pin from turning inside the tube. Glue the leather-like material to the tube after the glue dries. Wind the material around the tube to the "retracted" position. Turn the blind 12 times counterclockwise. Install and tighten the left-side housing with screws. Repair instructions for trunk blinds for Mazda 6 station wagons 2002-2008. You received a metal sleeve from us, and with the help of this manual, we will try to explain how to repair your blind. For the repair, you will need: a Phillips screwdriver, a drill with a 2.5 mm or 3 mm drill bit, pliers, a round file, a center punch, a hammer, and metal/plastic glue. The blind is covered with plastic. The driver's side cover is mounted with two Phillips screws. First, you need to remove the plastic cover. Once you remove it, there's a leatherette cover on the metal tube. On its edge, there's a plastic pin located in the tube, which holds the spring attached to the rod. To remove the plastic pin, peel off a piece of the leatherette material so that you can see the two holes that prevent the pin from moving. Drill the holes in the metal rod with a 2.5-3 mm drill. Do not drill through the plastic part, but through the metal part, so that you can remove the plastic tip. After drilling the holes, gently twist the pin and pull it out of the metal tube. Do not attempt to remove the plastic pin without unscrewing it, as you could damage the metal tube and the pin itself. Replacing the entire blind will only help. After removing the pin, you can smooth out any irregularities around the hole inside the tube with a file. The cause of the problem can be clearly seen. This is an L-shaped groove that quickly wears out, deforms, or even gets crushed, which causes the roller shutter to stop functioning properly. Dismantle the pin by removing the spring. To dismantle the pin, saw it with a saw blade or crush it with pliers or a hammer. However, be careful not to damage the metal rod it sits on. Now it's time to replace our worn plastic element with a metal sleeve. Hook the spring into the L-shaped recess on the sleeve, and then insert it into the metal tube. You should clearly feel the spring action. Note: the metal sleeve should be installed at a 90-degree offset from the original plastic one, so that the pre-drilled holes do not align with the grooves on the sleeve. Therefore, before inserting the rod with the sleeve into the metal tube, mark the location of the grooves on the metal tube. According to the marked grooves, different from the previously drilled ones using Using a punch and hammer, bend the metal tube to create recesses that will prevent the metal sleeve inside the tube from twisting. Once the glue is dry, the leatherette material can be reattached to the metal tube. Once the glue is dry, roll the material back onto the tube until it's in the "retracted" position. Then, you can begin reassembling the blind. Before tightening the left-hand side of the housing with two Phillips screws, rotate the blind counterclockwise 12 times.


 החזר על אי אספקה